If you’re looking for an easy-to-use drone that can capture high-quality aerial footage, the QuadAir Drone is a great option to consider. In this post, we’ll cover everything you need to know about setting up, flying, and reviewing this impressive quadcopter.
QuadAir Drone Setup
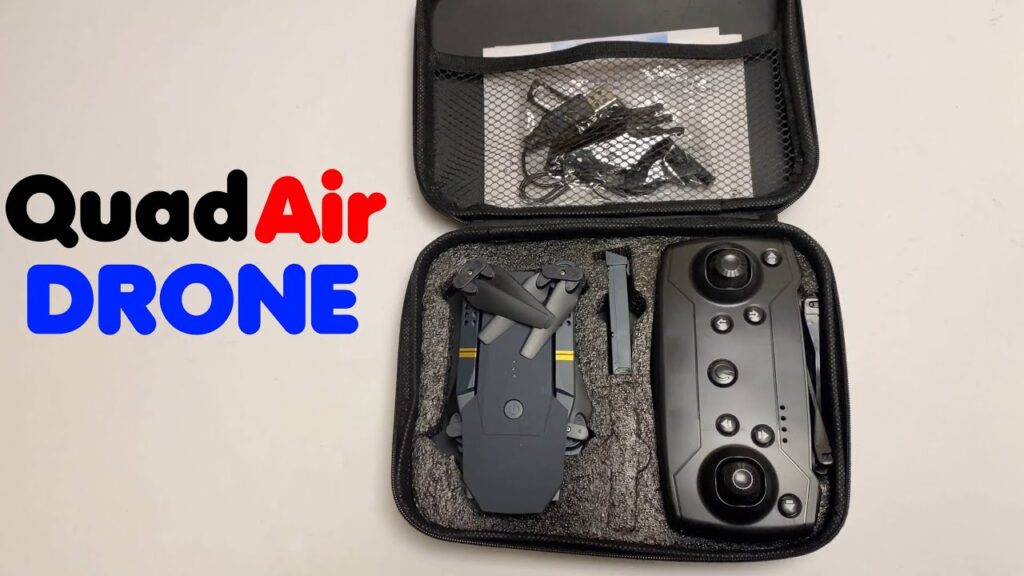
When you receive your QuadAir Drone, the first thing you’ll need to do is set it up for flight. Fortunately, this is a straightforward process that only takes a few minutes. Here’s what you need to do:
- Charge the batteries: Your QuadAir Drone comes with two batteries, which can provide up to 20 minutes of flight time each. You’ll need to charge these before your first flight. Simply plug them into the included charger and wait for the indicator lights to turn green.
- Install the propellers: The QuadAir Drone comes with four propellers, two of which are black and two of which are silver. The black propellers go on the motors with black dots, while the silver propellers go on the motors with silver dots. Simply twist the propellers onto the motors until they click into place.
- Attach the camera: The QuadAir Drone comes with a high-quality camera that can capture 1080p video and 12-megapixel photos. To attach the camera, simply slide it onto the mounting bracket on the bottom of the drone until it clicks into place.
- Turn on the drone and controller: To turn on the drone, press the power button on the side of the battery until the indicator lights turn on. Then, turn on the controller by pressing and holding the power button until the indicator lights turn on.
- Connect the drone and controller: Once both devices are turned on, you’ll need to connect them to each other. To do this, push the left joystick on the controller all the way up and then all the way down. The indicator lights on the drone and controller will flash to indicate that they are connected.
- Calibrate the drone: Before your first flight, it’s important to calibrate the drone to ensure that it flies smoothly and accurately. To do this, place the drone on a flat surface and push the left joystick on the controller all the way up and then all the way down. The indicator lights on the drone will flash to indicate that it’s calibrated.
QuadAir Drone Flight
Once your QuadAir Drone is set up and calibrated, you’re ready to take it for a spin. Here are some tips for flying this quadcopter:
- Start with a low-altitude flight: If you’re new to flying drones, it’s best to start with a low-altitude flight. This will give you a chance to get used to the controls and make any necessary adjustments before flying higher.
- Use the altitude hold feature: The QuadAir Drone has an altitude hold feature that will keep the drone at a steady height while you focus on maneuvering it. This can be especially helpful for beginners.
- Experiment with the camera: The QuadAir Drone’s camera can capture stunning footage from the air. Experiment with different angles and heights to get the perfect shot.
- Keep the drone within your line of sight: When flying the QuadAir Drone, it’s important to keep it within your line of sight at all times. This will help you avoid collisions and keep the drone under control.
QuadAir Drone Review
Overall, the QuadAir Drone is a great option for anyone looking to capture aerial footage. Here are some of the pros and cons of this quadcopter:
Pros:
- Easy to set up and fly
- High-quality camera that can capture 1080p video and